Thursday, December 31, 2015

Thoughts on 2015

Hello Everyone,
Happy New year!  I realized it was the last day of the year.  What a year it has been!  A lot life changes for me this year.  Starting with the death of my dear father in February.   Then making the decision to move.  Looking for a new home, buying the home.  And then selling our other home.  All was very stressful and consumed much of my time through out the year.  All the time trying to deal with grief.  But, I still found time to be creative.  I feel so happy and blessed to be in our new home now.  I am having fun setting up a new crafting studio in the basement.  I have lots of room so I can have tables and really spread out.  I continue to move things around and have added a small Ott light on my work table.  I really do need lots more lighting though.  It will all come together with time.  I hope...LOL.
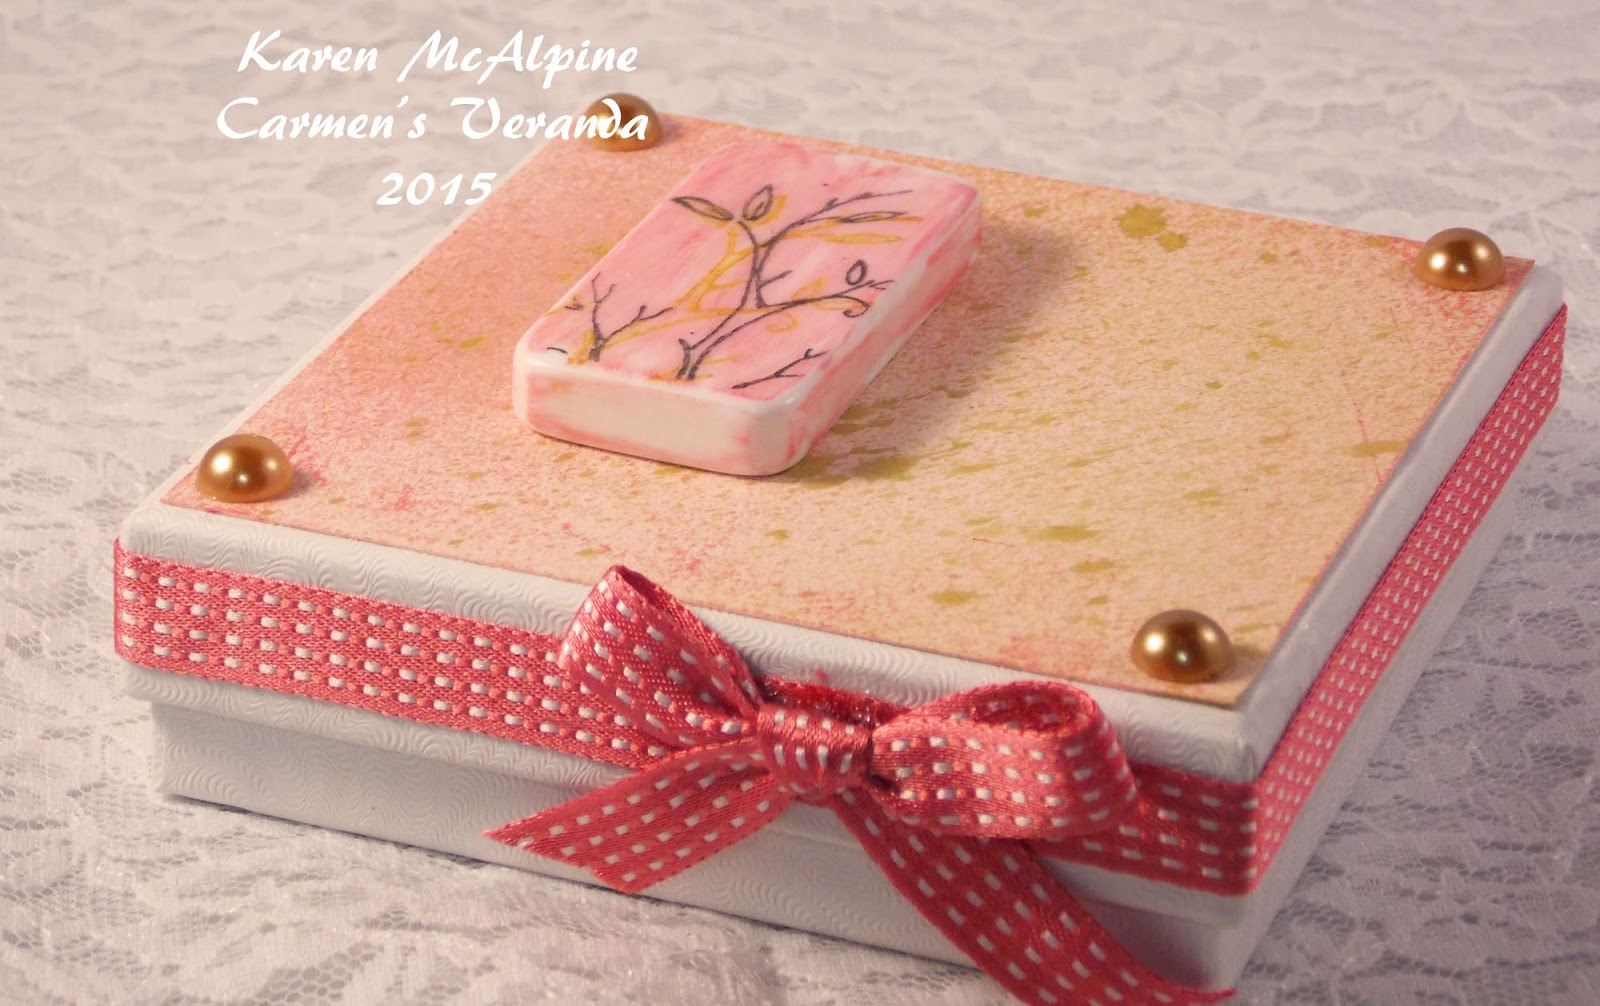
So, what were some of my favorite projects for the year 2015??


January


March

April


May

June

July

August


September

October


November


December


I wish you all the best in the new year!!  Stay safe and be happy.  See next year.  LOL   Love ya
Karen

Tuesday, December 29, 2015

New Design Team for 2016!!!!

Hello Dreamers!
I hope you had a great holiday season!  We certainly enjoyed our holidays here! We had three gatherings - two for Christmas and one for my mother's birthday! Great times with friends and family!  Still have lots of left overs and cookies. LOL.  I put some of the cookies in the freezer for later.  Some cookies freeze really well.  Okay....on to my big announcement!!!

I have accepted a spot on the Technique Junkies Design Team!!!


I am really excited about working with the Junkies in the coming year.  There is a blog hop each month showcasing the new release stamps and lots of projects through out the month on the Design Junkies blog.

As you probably know, Technique Junkies has a long history of publishing their Newsletter and CD's with all kinds of fabulous technique ideas and tutorials.  Pat Huntoon, the owner, also now carries a line of art stamps!  Check out all the gorgeous stamps here.

To celebrate, I have made a fun card with Technique Junkies stamps.  I used shades of aqua and teal.  This seems to be a favorite color scheme with me lately.  I also painted my bedroom in a pale aqua and made teal drapes.  Looks scrumptious!  I digress.  Here is the card.


Materials:
Stamps: Magic Strands, Click Your Heels from Technique Junkies
CS: White, teal, and black
Ink: Peacock Feathers and Black Soot Distress Inks
Black Tulle
Fabri-tac glue
3D Zots


Make It:

  • Make a card from teal CS and add a layer of black CS
  • On white CS stamp the Magic Strands stamp several times with Peacock Feathers ink -dry with heat gun
  • Distress with Peacock Feathers ink until all the white CS is covered


  • On white CS stamp the feet with Peacock Feathers ink 
  • Layer with black CS
  • Apply Fabri-Tac glue to the back of the stamped shoes piece and gather a piece of tulle pressing it into the glue to hold in place
  • Add this piece to the card with 3D Zots
  • Stamp the sentiment with Black Soot ink


Isn't this a fun card!  Love it.  I will send this to someone special.  There are so many super fun stamps available from Technique Junkies!  I am in stampers heaven!  LOL.
The next  TJ Blog Hop begins Jan 1 at 5:00 am central time!!  Check  out the January New Release Stamps ( at special offer price!!) and lots of Design Team projects!! See you then!!  Love ya
Karen

*****Challenges for Click Your Heels:
Love To Scrap: anything goes
Creative card crew: anything goes
Fashionable Stamping: make your own background

Wednesday, December 23, 2015

Merry Christmas and One More Christmas Card

Hello Everyone,
I would like to wish all of you the Happiest of Holidays!!  I will be having dinner with my family on Christmas day.  I did finish my shopping yesterday and I will do all the wrapping today.  I am also putting together some little gifts: Christmas tea cups filled with candy.  Should be all ready for the big day.  Expect for all the cooking.....
So, I thought I would share one more Christmas card.  I used the same layout as my Vintage Stamping December Challenge Card.   I love this layout and will use it again.  It is fairly simple.  Just have to use a stamp that has some width to it.


The stamps are from A Muse Studios and are stamped with brown ink on white CS.  
Gold ribbon is tucked under the strip of DP and a separate bow is glued on.


Merry Christmas and I will see you after the holiday!!  
There are lots of fun things coming in the new year.  A new design team.....  More on that later!  And fabulous new releases from Lost Coast Designs.  Should be a great year!!!  Thanks for hanging out here in Dreamland all year!!  Love ya.
Karen

***********Challenges for my Sleigh ride Card:
ABC Christmas: Z is for Zoo- use a zoo animal
Mod Squad: anything goes
Crafty Hazelnut Christmas: anything Christmas


Tuesday, December 22, 2015

Postcards- One Layer Christmas Cards

Hello All,
Getting closer to Christmas.  I haven't finished my shopping yet.  I  always finish late.  I have three birthdays in November, which delays the Christmas shopping every year.  I think I will start buying a few gifts through out the year and putting them in a closet for future birthdays and Christmas.  Hopefully, I will follow through on that.
Today's post is all about one layer Christmas Cards.  This set of cards is really more of a postcard.  Why not?  Right?  Only one layer, no fold, and no glue.  I used the back side for the sentiment.  I will put these in an envelope with a change of address sheet (because I moved in October).

 I started by stamping this large image from Stampendous on white and cream CS.   I used three ink colors: black, brown, and Pesto Adirondack.


The edges were distressed with inks and the holly colored in with markers.


I stamped Merry Christmas on each postcard.


I stamped the sentiment on the backside.  I will also write on this side.


I like this idea and may make more for next year.  I have all I need for this and will be sending some store bought cards this year.  With the move, I was not able to start my Christmas cards in the Fall like I normally do.


Challenges for my Post Cards:
Love to Scrap: anything goes
Dream Valley: Christmas
Crafty Card makers: snow
Cards in Envy: snow and A2
Crafty Hazelnut Christmas: anything goes Christmas
Holly Jolly: anything goes Christmas


Well, I wish you a wonderful Holiday!  See you soon.
Karen

Friday, December 18, 2015

Holiday Wreath

Hello Dreamers,
Been busy here working on Holiday preparations.  I am hosting Christmas dinner.  I just about have the menu planned.  I am not sure what dessert I will make.  Something gooey and chocolaty I think.  Well, on to some  crafty topics.
I have been making crocheted scarves for gifts.  Have seven made so far.
Also made a holiday wreath.   Which is the subject of today's post.

I purchased a grapevine wreath, and cut the evergreen from trees in my yard.  I had the ribbon in my stash.  Take a look.  (Made that Santa years ago.)


The evergreens were wired on and the bow hot glued.  The wreath is hung in my front foyer.  Such a nice cheery welcome for guests.
Next time, I will be back with more one layer Christmas cards.  Soooo, see you then.  Hope you are having a great day!!  Love ya.
Karen

Wednesday, December 16, 2015

One Layer Christmas Cards

Hello Dreamers!
Having fun here.  We had two trees in the front yard cut down yesterday and are having three cut down in the backyard tomorrow.   I know it sounds brutal, but the trees are so over grown and don't fit the space any longer.   I will re-landscape the front and back this spring.  I will have all winter to make my plan! You know I love to garden.  I am already missing my garden at our old house.  So, this is just what I need.  Can't wait to get my herb garden started this Spring.

Now, how about some Christmas cards?
I have been playing around with single layer cards since my favorite glue is no longer made.  (Don't get me started!!)   I refuse to go back to tape runners.  I came up with some fun single layer ideas and will share them in two posts.   Away we go!

I used some Holiday stamps I had in my stash and stamped on White CS.

Card #1
I stamped with black ink and  kept it simple with a plaid ribbon.


Card #2
Stamped (Amuse Studio stamp set) with Brown ink and added a checkered ribbon.


No glue needed.  Just a drop of Fabri-Tac on the ribbon.

Entering my One Layer Christmas cards in:
Amusing Challenge: Happy Holidays
Holly Jolly: anything goes Christmas

I will be back with a hand made wreath and more one layer cards in the next few days.  See you soon!!  Hope you are having a super Wednesday!!  Love ya.
Karen

Tuesday, December 15, 2015

Cute Folk Art Santa with Carmen's Veranda Stamps

Hello Dreamers!
Today is the last day of the Carmen's Veranda Christmas Event.    You have until 8:00 pm PST to link up a Holiday/Christmas project using any stamps.


For my project I have made a Christmas card using a sweet folk art Santa from Carmen's Veranda Stamps.
NOTE: I thought it would be interesting to stamp the image in Navy ink instead of traditional black or brown.  And  to compound the twist by making the card in a neutral brown palette.  I like the visual interest this produces.


Materials List:
Stamps: Overalls Santa from Carmen's Veranda and Party Words from Lost Coast Designs
Ink: Navy dye
CS: Solar White Neenah, cream, kraft, dark brown, medium brown
Die cut rectangle
Copic Markers
Burlap ribbon
Red/gold ribbon
Twine trim


Instructions:
  • Make a 4.25 x 7.25 inch card from dark brown CS and add a layer of cream CS
  • Add a strip of burlap ribbon- I cut down the width on this ribbon to about one half of an inch
  • Add a piece of burlap trim over the burlap ribbon


  • Stamp the Santa with Navy ink and color image with Copic markers
  • Die cut Santa and add layers of medium brown and dark brown CS


  •  Stamp the sentiment and cut out
  • Add to card front
  • Tie red/gold ribbon in bow and add to card


Hope to see your will share your project with us on the Portal to Creativity blog!! 

See you soon for more crafty goodness!
Karen

Friday, December 11, 2015

Star Angel Doll with Carmen's Veranda

Hello All,
Welcome to my second post for the Carmen's Veranda Christmas Event!


There are Prizes and lots of inspirational pieces from the Design team.  All you have to do to enter is make a Christmas/Holiday card using any stamps, link it up, follow us, and leave a comment!!


Be sure to head over to the Portal to Creativity blog and link up your Holiday project!!
 We also have our 2nd Facebook based challenge  over on Lost Coast Designs and Carmen's Veranda FB Pages!  Enter your projects in our Winter Holidays Challenge for the chance to win even more prizes!  Same FB Challenge on both Pages

Here is my project made with a folk art doll angel stamp from Carmen's Veranda.


Material List:
Stamps:Star Doll Angel from Carmen's Veranda
Ink:Black dye
CS:Solar White Neenah, olive green, red
Copic Markers
Christmas ribbon


Instructions:

  • Make a card from red CS and add a layer of olive green CS
  • Stamp the angel on Solar White CS and color with Copic Markers


  • Die cut the Angel and add to the card front
  • Tie a bow in Christmas ribbon and add to card


Hope your holiday preparations are going well!  I think I will have to send out some store bought cards this year.  With moving, I really haven't been able to work on my Christmas cards.  I have been experimenting with some single layer cards.  I will show you those later.  So, check back for those.  See you soon.  Love ya.
Karen